How to Record a DJ Set in 2026: A Step-by-Step Guide

January 27, 2026
Recording a DJ set lets you capture your performance for practice, promotion, or sharing online with your fans.
With the right DJ gear and software, you can record and share your best mixes using simple methods for consistently high-quality results.
This guide explains exactly how to record a DJ set for beginners, whether you use a digital, vinyl, or hybrid setup.

Why DJs Should Record Their Sets
Making your own recordings of a DJ set provides a versatile resource for mastering mixing techniques and building an audience.
Here are some reasons why DJs should record their sets using the best equipment for optimal audio quality:
- Reviewing practice sessions: Learning and evolving as a DJ is much easier when you can review your sets and hear them from the audience’s perspective. You can look for issues like clipping, out-of-time transitions, and whether or not the track selection works.
- Promoting your DJ brand: Whether you’re becoming an EDM DJ or offering mobile services, recording your DJ sets is a valuable way to reach potential clients and build a fan base.
- Showcasing and documenting your progression: If you’re experimenting with new techniques, DJ set recordings immortalize your achievements and showcase your progression.
Once you’re happy with the quality of your DJing, your set recordings can be used for building industry connections.
What You Need To Record A DJ Set
Everyone performs DJ sets in their own way, and your current DJ setup and performance style will influence the recording process.
Some DJs use software-based approaches, while others who DJ with turntables and CDJs require external recording devices.
While setup requirements vary among DJs, here’s an overview of essential gear you’ll need for recording mixes:
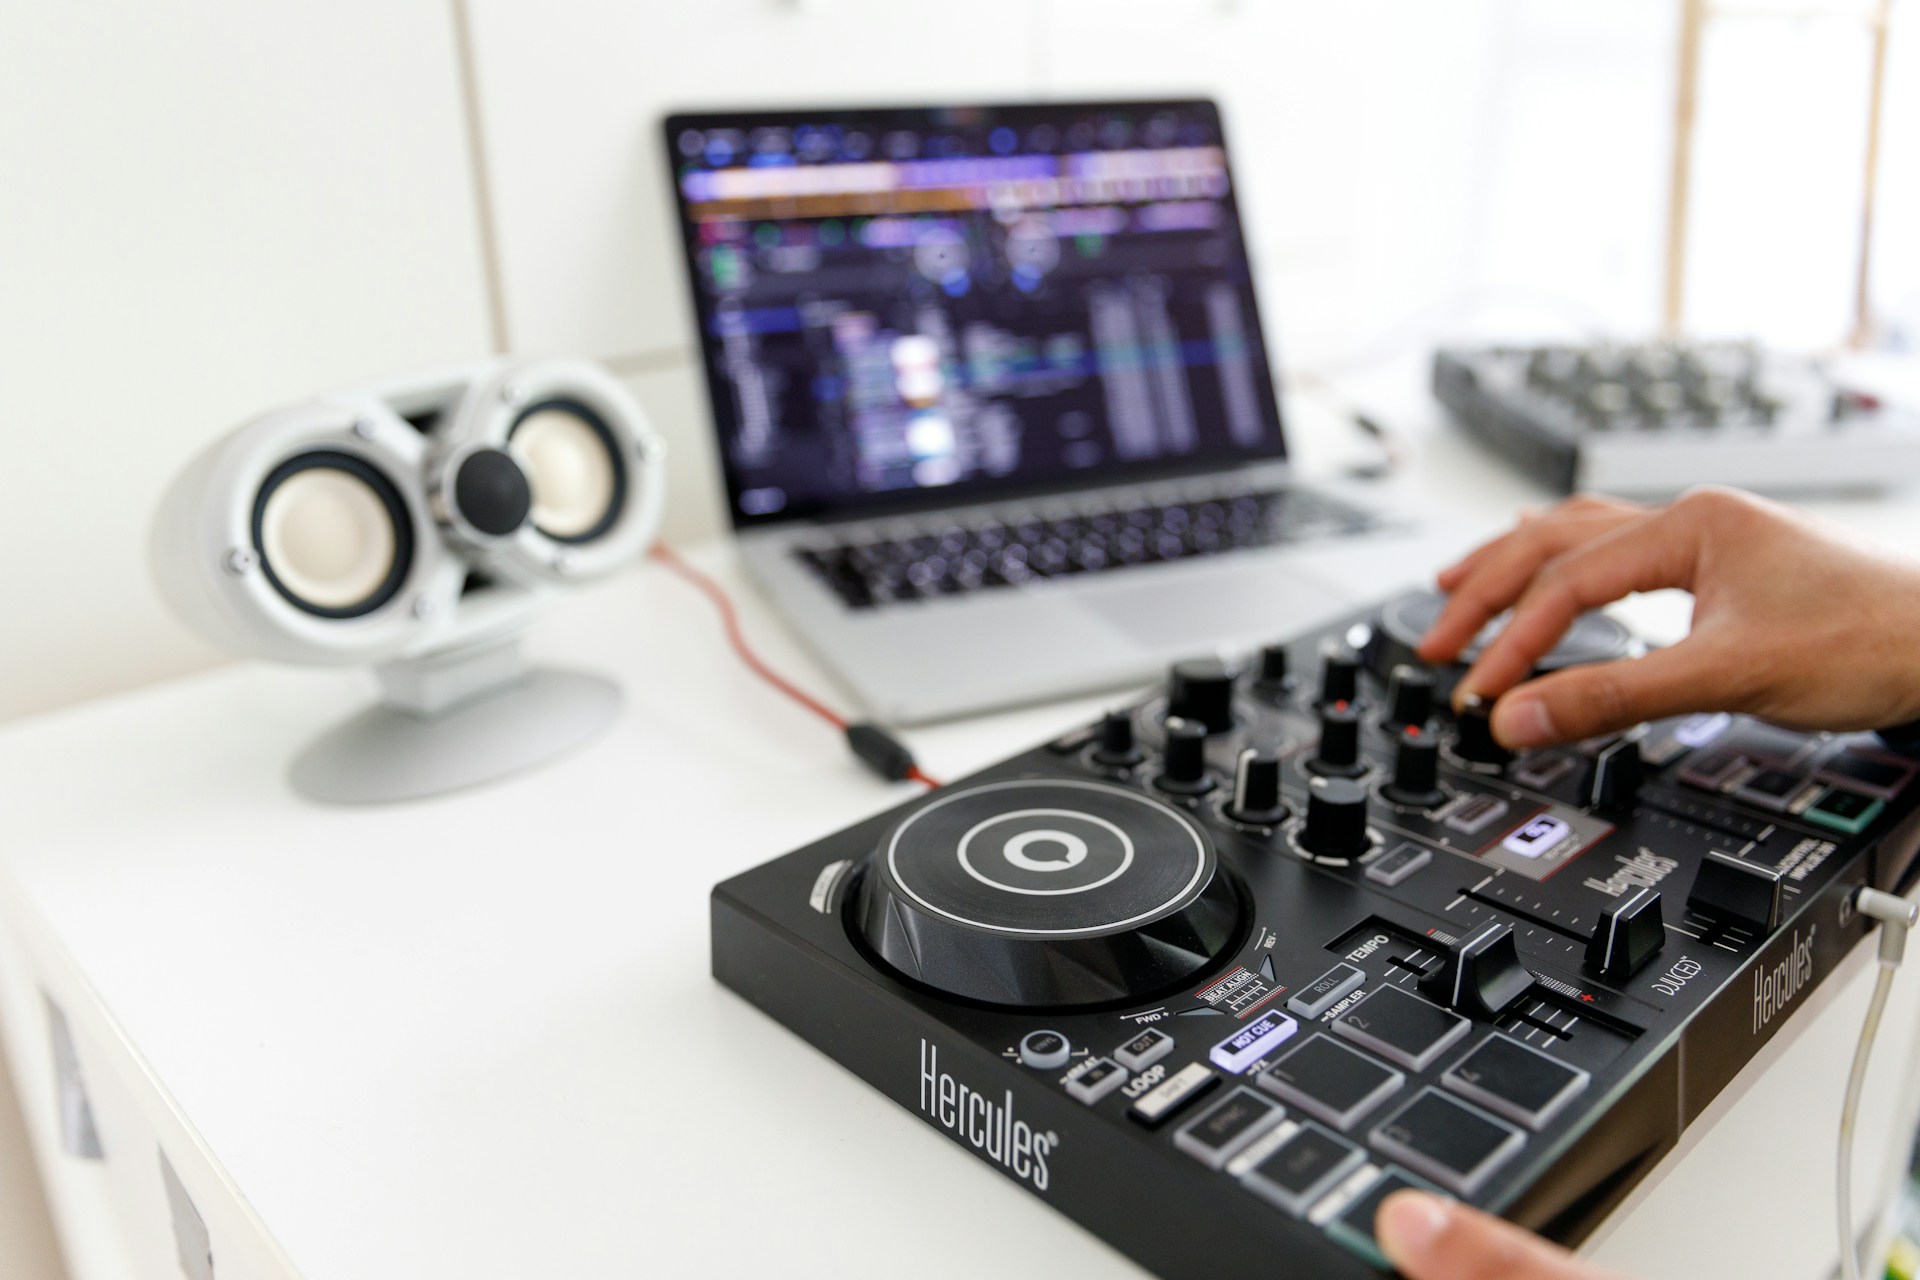
DJ Mixer/DJ Controller
A DJ controller or mixer is a core requirement for all DJs, whether they use digital audio tracks via a controller or vinyl records.
The best DJ mixers include dedicated, built-in audio interfaces and outputs for connecting to a computer or handheld recorder.
Controllers can be used with compatible DJ software to record mixes, and some support USB drive recording.
Laptop/Computer
Whether running DJ software, a DAW, or audio editor, you’ll need a computer or laptop to install and run it smoothly.
If you’re DJing with a laptop, you can manage your recording sessions and edit them using a digital audio workstation.
Music production and audio editing software, such as Ableton Live and Audacity, can also be used for creating pre-recorded mixes.
DJ Software
A wide range of DJ software is available for recording mixes, including popular options such as Rekordbox, Serato, and Traktor.
Look for the best DJ software for PC or Mac, depending on your device, and evaluate them for any additional features you’ll need.
This can include compatibility with digital vinyl systems, licensing implications, and whether additional payment is required to unlock features.
Audio Interface
If you’re running the audio output from a mixer to a computer, you’ll need an audio interface to process the signal.
The best audio interfaces deliver low latency and an impressive dynamic range, ensuring your mixes are accurately recorded.
Cameras
Recording a DJ set often involves capturing the experience on video, whether with a smartphone or a professional mirrorless camera.
Aim to record from multiple angles, and use free video editing software to add dynamic cuts and overlays to the footage.
Accessories
When recording a set, you’ll also need the relevant cables and other DJ accessories to set everything up correctly.
This can include RCA, USB, and SD card connections, ensuring your DJing setup is integrated into a unified system.
Related read: The best DJ equipment.
How To Record A DJ Set: Step-By-Step
If you’re DJing with digital downloads or mixing on turntables, the core process for recording a set remains largely the same.
Here’s how to record a DJ set using affordable software and ensure everything is set up correctly before you start recording:
Step 1: Set Up Your DJ Gear
Before you can record a DJ set, you’ll need to set up all of your DJ gear, ready to record directly into your chosen source.
This can be a basic DJ controller setup with DJ headphones for monitoring, or a mixer linked to turntables and CDJs.
If you’re using an audio interface to record directly onto a computer, this should be connected correctly to your mixer or controller.
You should also use high-quality cables whenever possible and keep backup cables and accessories on hand in case of an emergency.
Step 2: Choose The Right Software
In addition to your hardware DJ tools, you’ll need the correct software for recording a mix, whether through DJ or standalone software.
Check for compatibility with your computer and research the best DJ software for Windows or Mac based on your setup.
Serato, Rekordbox, and Traktor are commonly used by touring DJs, but affordable alternatives like Mixxx and VirtualDJ can work as well.
Additional recording software to consider includes FL Studio or Ableton Live for pre-recording mixes in a DAW with precision editing.
Discover more: DJ set vs. live set.
Step 3: Configure Audio Settings
Once your equipment and software are ready, it’s important to configure the audio settings for your inputs and outputs.
This means optimizing rec settings like sample rate and bit depth, preventing distortion by limiting overall volume, and accounting for latency.
Before hitting the record button, test the recording software with a trial run to evaluate the impact of any audio settings you’ve changed.
Step 4: Set Up Your Recording Environment
Most DJs record video footage of their DJ sets, particularly when sharing on platforms like Mixcloud, Twitch, and YouTube.
This means investing time in creating an eye-catching, atmospheric background that captures the spirit of your DJing persona.
You can use basic or AI lighting to create visual texture and interest, with multiple camera angles to record your hands, deck, and audience.
Webcams and action cameras are excellent for wide-angle coverage, while a mirrorless camera is ideal for dynamic handheld shots.
Step 5: Plan & Prepare Your Mix
Before you hit record, you should organize your DJ playlists and plan out the structure of your set and how the tracks flow together.
Start by defining the set’s vibe and tone, building an energy curve, and establishing the BPM and key compatibility of your selection.
Once your set is structured, you can set cue points, prepare any loops, and plan transitions between tracks.
By including backup tracks and familiarizing yourself with cross-genre options, you can focus on mixing techniques when recording.
Step 6: Sync Audio & Video Sources
Capturing audio and video from multiple sources requires synchronization among all devices in your setup.
This can become complicated when using multiple cameras, but a basic on-camera clap or cue tone can help with alignment during editing.
When using multiple media sources in your recording, pay attention to consistency in frame rate and to quality differences between audio tracks.
Step 7: Record Your DJ Set
With your setup ready to go, it’s time to record your DJ set using your chosen method, monitoring levels throughout the performance.
You should avoid excessive gain boosts to prevent poor audio quality, check for any mixing mistakes, and manage your recovery.
If you’re recording at a venue, such as a coffee shop rave, you’ll need to video the crowd and see how they respond to the music.
Remember to monitor your audio levels throughout the set, and focus on precise mixing techniques and transitions that showcase your skills.
Step 8: Edit The Recording
Once the recording is finished, you can improve the quality using post-production tools and cleanup techniques.
Begin by trimming out any silences and mistakes before applying light EQ and compression, avoiding over-processing.
Next, you can apply normalization and limiting to enhance volume levels while preserving the set’s dynamic range.
These processes can be performed in any digital audio workstation, while Audacity offers a free alternative for budget-conscious DJs.
Step 9: Export The Final DJ Set Mix
After processing the mix to get clean audio tracks, you’re ready to export the final results into various file formats.
Begin by creating a WAV and MP3 version, using the former as your master copy and the latter for uploads to streaming services.
If you’re planning to record your mixes regularly, establish a file-naming convention and folder structure to manage them effectively.
You should also consider any additional branding elements you’ll need for the mix, such as social media artwork.
Step 10: Share Your DJ Set Online
Once you’ve created files of your DJ sets, you can then share them online to build your audience and connect with booking agents.
Platforms like YouTube and SoundCloud are commonly used, but there are several SoundCloud alternatives for DJ content.
Check out Mixcloud, Dropify, and HearThis if you want to expand your reach to audiences interested in niche genres.
You can also combine your mixes with other DJ content ideas, such as behind-the-scenes videos, as part of a broader promotional strategy.
Learn more: How to stream a DJ set online.
Different Ways To Record A DJ Set
We’ve explored the general process for recording music with a range of software options on mixers, controllers, and laptops.
Here are some additional ways to record a DJ set, from using a standalone recorder to essential tools to record on your phone:
- Recording a live DJ set vs a pre-recorded set: DJ sets can be recorded in various settings, and if you’re recording a live set, you may want equipment to capture the crowd noise.
- Standalone DJ recorders: Portable recording devices, such as the Zoom H4n and Tascam options, offer high-quality audio and can handle the high-output signal levels of DJ mixers.
- Recording DJ mixes with a phone: With smartphones ubiquitous, there are several ways to record and stream your DJ sets, including Pioneer’s DJM Rec App for compatible gear.
You can also use software like Density to edit and master the raw data from your DJ sets, ready for professional distribution.
Audio Settings For Recording A DJ Set
Before you hit record and start your mix, check the following audio settings to optimize your content’s quality:
- Input gain and headroom: Recording high-quality audio requires a master output peak of around -6dB for sufficient headroom, with individual channel gains averaging at 0dB and peaking between +3dB and +6dB.
- Sample rate and bit depth: The standard sample rate for audio recordings is 44.1kHz, while 24-bit delivers high dynamic range. If you can access 32-bit float equipment, this will further prevent digital clipping in your recordings.
- WAV vs MP3: All DJ mixes should be recorded in WAV format as the master copy, with conversions to MP3, FLAC, and other formats as required by streaming services and other platforms.
Once your set has been recorded, you can further optimize audio quality by normalizing the volume in software such as Audacity.
Common Recording Mistakes
Getting everything set up to record audio through your DJ equipment can sometimes lead to unforeseen technical issues.
These are some common mistakes to be aware of when setting up recording software to capture your sets:
- Clipping and distorted audio: Failure to control input levels from an incoming signal can result in harsh distortion and clipping. Using the best DJ speakerswill make it easier to properly meter and monitor during the performance and avoid this problem.
- Incorrect signal routing: If you’re using a mixer, not using the Record Out or Booth Out features can affect the mix, recording the room’s volume adjustments rather than the final recording.
- Background noise or interruptions: Recording a mix through a microphone rather than a line-out will result in poor-quality audio tracks marred by unwanted background and crowd noise.
Once your recordings are ready, you can identify other common DJ mistakes and evaluate your interaction with the crowd.
Read next: A digital music management masterclass.
Tips For Recording A Professional DJ Set
As with all aspects of the art form, you can learn a great deal about the process of recording mixes from other DJs.
Here are some pro tips for recording a DJ set that will elevate your workflow and improve the final results:
- Check out sets from professionals: Recording DJ sets requires a strong persona, and professional performances, such as Boiler Room DJ sets, will help you bring additional charisma to the show.
- Perform a test recording: Always run a test before pressing record to ensure consistent loudness and proper routing for a clean recording.
- Use dedicated hardware for clean audio: If your budget and setup allow, upgrading to a dedicated standalone recorder with ample battery life will deliver the best possible quality.
By combining clean audio with vibrant video footage, you can use your recordings to make money as a DJ at gigs and festivals.
Summary
If you’re serious about building a lasting DJ career, recording your DJ sets and sharing them with your fans is essential for generating buzz.
By setting up your gear properly, recording at safe levels, and exporting in high quality, you can capture clean DJ sets for sharing online.
It’s a simple, step-by-step process that’s easy to learn, with plenty of accessible tools for recording sets at any skill level.
Not a member ?
Join Today for Unlimited Music Downloads. Visit zipdj.com for more information.