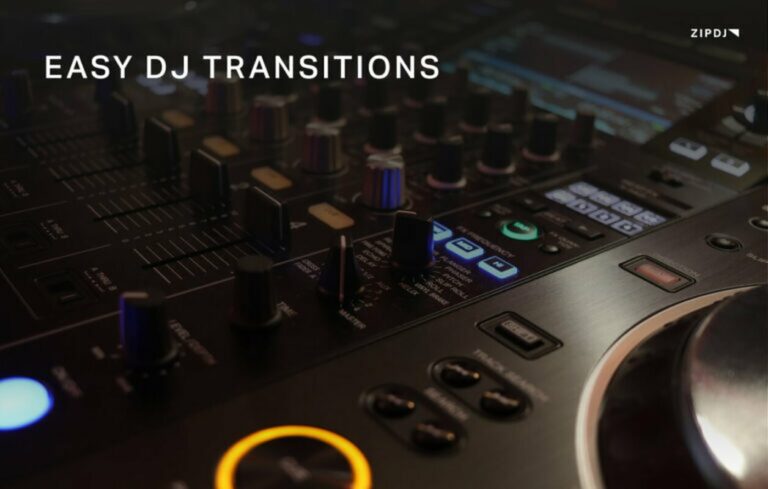
Top 5 Easy DJ Transitions To Learn
February 1, 2023
The best DJ transitions are simple yet highly effective methods DJs use to move from one track to the next while avoiding unwanted distortion and noise.
Achievable on a wide range of DJ software, these transitions can be applied to various scenarios, from weddings and corporate events to the main room in high-class clubs.
Read on to find out how to perform some of the best DJ transitions to make the most of your DJ controller and take your DJ sets to the next level.

Top 5 Easy DJ Transitions To Learn (Step-By-Step)
We’ve broken down each of these easy DJ transitions step-by-step to help you practice and master them at your own pace.
Compile a library of your favorite music to try these techniques, as being familiar with the drops and breakdowns will make it easier for you to learn them.
So without further ado, here’s our complete guide to the best DJ transitions you can learn today:
5. Beat Matching
Beat matching is a foundational technique you’ll need to learn to accomplish a range of DJ transitions.
This transition technique requires ensuring the incoming track matches the same beat as the outgoing song, allowing for a smooth transition without staggered and discordant beats.
Before you learn how to beat match, you must first ensure you know the tempo of the music in your collection.
When researching the best DJ pools to build up your music library, you should look for one that includes beats per minute (BPM) information to use as a starting point.
Different music genres have their dominant BPM range to play with; for example, house music typically comes between 110 and 140 BPM, while EDM sits between the 120-125 range.
Faster-paced genres such as drum and bass come in a much higher range between 160 and 180 BPM, so make sure you’re playing two songs within the same BPM range.
When you become more proficient at beat matching, you can work with the pitch controls to increase or decrease the BPM range throughout your set.
How To Beat Match:
Step 1: Prepare the upcoming tune ready to beat match
Find the starting point where only drums are playing, then choose the musical phrase you want the crowd to hear. Then, go back one phrase and use this point to line up your tune.
Step 2: Make sure the incoming track is synchronized
Let the incoming track play in your headphones while the current track is playing on the speakers, keeping it on a phrase of 4 or 8 bars. Tweak the tempo of the incoming track until the two tracks match.
Step 3: Bring the incoming track into the main speakers
With the beats matched, the incoming track starts fading into the music, either via the cross-fader or the line-fader, until the two play at the same volume.
Step 4: Play both tracks together
Once they’re mixed, leave both tracks playing together, so the crowd can fully enjoy the mix. This is where more advanced techniques, such as using the EQ, filters, or effects, come in.
Step 5: Remove the outgoing track
Following a musical phrase, begin to fade out the previous track, moving the fader down slowly or immediately. If you’re cutting the outgoing track out instantly, ensure you do so at the end of a phrase or other appropriate point.
4. Fading
Fading is one of your tool kit’s most basic DJ transitions, enabling you to move smoothly from one track to the next easily.
A “get out of jail free” card, fading doesn’t require both tracks playing together, so you don’t have to concern yourself with perfectly matching BPM and key.
That makes it a great DJ transition if you’ve accidentally lined up the wrong song or are still getting used to your DJ software and want to begin with something easy.
It’s commonly used by wedding DJs and mobile DJs performing to a more casual crowd than you’d find in a nightclub, playing more popular, lyrics-driven music.
Manually fading out gives the audience a heads-up that the current track is ending, and they can expect another track to follow soon.
By fading the current track out slowly, it gives the incoming tune some additional punch when it drops in and dominates the mix.
How To Fade:
Step 1: Choose a point in the track to fade
Once the current track has played through, and you’re ready to move on, pick a chorus or other looped refrain to begin fading down from.
Step 2: Start fading the song out
As soon as the last bar has finished, you’re at the fade point, so start bringing the volume fader down on the current song. Time the fade so that it reaches silence at the end of a four or eight-bar phrase.
Step 3: Introduce the next track on a downbeat
As you slowly fade the current song out completely, begin the next track on the first beat of one musical phrase so they flow together.
3. Cutting
Whereas beat matching and fading both allow for slower transitions between tracks, cutting delivers a swift and dynamic transition.
Transitions such as the fade give the audience an indication a new track is on the way, while the cut is an instantaneous mix from the current tracks playing to the next song.
Cutting is one of the most important techniques if you want to learn how to scratch DJ, and it is commonly used for hip-hop mixes.
But it can also be used in various circumstances and is particularly useful for multi-genre DJs who like to bring a lot of variation to their sets.
To perform this effectively, you must perfect your timing, choose the point you want to cut wisely, and be familiar with the new song you’re bringing in.
It’s also one of the most versatile of our easy DJ transition tips and can be used in the middle of the current song, after the bridge, or anywhere else you think works.
Great cutting requires the two tracks to be played at the same tempo, so if you haven’t mastered beat matching, you might want to hone that skill before attempting to cut.
How To Cut:
Step 1: Line up the incoming track on a beat
Be prepared to begin this track instantly at the start of your chosen musical phrase.
Step 2: Count down the beats, bars, and phrases on the incoming tune
Counting down the lead-up to when you want to drop the next track helps you anticipate when to start the new track playing.
The end of a big chorus, breakdown, or drop on the current song is a good place to cut.
Step 3: On the downbeat, begin the new song and stop the outgoing one simultaneously
As soon as you hit play on the next song, it should dominate the mix entirely, with the previous song inaudible.
2. Bass Swapping
Bass swapping is one of the first DJ techniques you need to master if you’re primarily playing dance music genres such as EDM, techno, and house music.
Also known as the bassline swap, bass swapping allows the DJ to switch between the bassline of one track and a second track using the EQ controls on your DJ controller.
The bassline swap circumnavigated the common problem of basslines clashing and distorting, as well as potential clashes in keys between the two tracks.
Since basslines are more prone to red light clipping than other frequency ranges in tracks, you should understand the format of your audio files to ensure you’re using the highest possible quality.
You must also pay close attention to the incoming track’s bass, keeping it in a time and key that matches the current track before you swap basslines.
A solid foundation in basic beat matching is also necessary to perform a bassline swap since you’ll be playing two songs simultaneously for this transition.
How To Bass Swap:
Step 1: Mix the upcoming track into the outgoing tune over several musical phrases
Effective bass swapping requires both tracks to play together over an extended period, during which you can perform the swaps over several phrases.
Step 2: Cut out the bass from the incoming track
Bass swapping only works when one track’s bass is live, so turn the bass knob down completely on your DJ controller. This will also quieten the kick drum and other low-frequency sounds.
Step 3: Swap the basslines at the end of your chosen bars
As you drop the bass frequencies out of one track, bring the EQ back up on the other tune to its normal level, so the bassline plays. Do this simultaneously between beats, switching back at the end of a bar.
Step 4: Transition to the next song
When you’re ready to move from the first track to the second, keep the bass cut out on the former and let the next song dominate.
You can then fade out the former as the incoming track plays or cut it out completely at the end of a bar.
1. Filter Transition
Mastering your mixer’s EQ and effects is among our top tips and tricks to improve your DJ skills, and filter transitions are one of the best tools in your arsenal.
Filters are used by some of the best DJs in the world to introduce new textures to their sets, and the filter knob can be used throughout the whole mix to control the atmosphere.
By altering the music with a low, mid, or high pass filter, you can slowly remove these frequencies from one song, mixing them back in when the second track drops.
Depending on the filter knob you use, you can bring high or low frequencies in and out of the mix gradually or instantly to achieve different effects.
You don’t have to use filters exclusively for mixing; filters can also be fun to play with when you have just one song playing, as well as for a transition.
Before you get started, you’ll need to ensure your DJ gear includes filters, as this feature doesn’t come as standard on all equipment.
How To Use Filter Transitions:
Step 1: Turn off the incoming track’s high, mid, and low-frequency volumes
While the current track is playing, make sure all frequencies are cut out on the new one, ready for you to introduce them to the mix.
Step 2: Filter in the high frequencies from the incoming tune
As you bring in the high frequencies, the high-end percussion and other elements from the next song will begin to play along with the old track.
Step 3: Filter out the old track as you bring in the lower frequencies from the second track
Using the high pass filter allows you to remove elements from the initial track so that the new track can dominate.
Introduce the low frequencies from the new song as you start fading the previous one out, cutting the fader when the second track is fully mixed.
Summary
That wraps up this step-by-step guide to performing the most popular easy DJing transitions, whether you’re beginning your DJing journey or looking to expand your repertoire.
These transitions will help up your DJing game and can be used for weddings and corporate events or mixing tunes for the dancefloor in your favorite club.
Once you’ve mastered everything we’ve covered here, you’ll have the tools to transform two tunes and create exciting mixes that get the crowd moving.
Access all the music you need when you sign up to ZIPDJ’s DJ pool and learn how to master these easy-to-learn DJ transitions.
Not a member ?
Join Today for Unlimited Music Downloads. Visit zipdj.com for more information.